

There’s not much more than 24 hours left of this year.
Scratch that.
We’re a week into January. This blog post still hasn’t written itself and some of my thoughts about this make are beginning to fade. The thing is I practically never write things down; I always just tell (read: lie to) myself, I’ll remember this. I’m just not a note-taker. But we’re here for the jacket, Jakubowski.
It was supposed to be pale grey pinwale. But it’s most certainly not. Having pulled a lightweight corduroy from my stash, I typed “corduroy” into the search bars of my favorite apparel sites. As usual, Anthropologie did not disappoint. A quilted corduroy jacket!
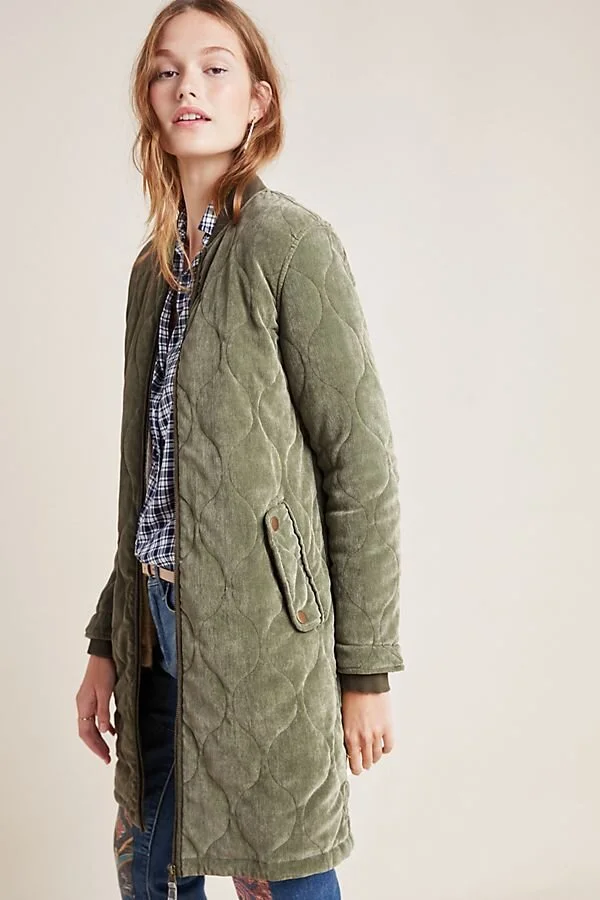


I immediately thought I’d use the Tamarack jacket pattern, with a few changes- lengthen it, add a zipper to the front, a ribbed collar and cuffs, and flaps on the pockets.
But I couldn’t find rib that coordinated well with my pincord. So I subbed another stash fabric, some Rag & Bone Indigo Quilted Cotton Woven purchased from Mood.

fabric face

fabric reverse
The main pattern adjustment I made was to lengthen the body. Seven inches were added to the front and five to the back so they would be even.
Long story short, I ended up piecing the main fabric in simple squares that alternated the fabric grain to add extra texture without having to do lots of quilting. It’s just not something I’m very good at. Quilting.

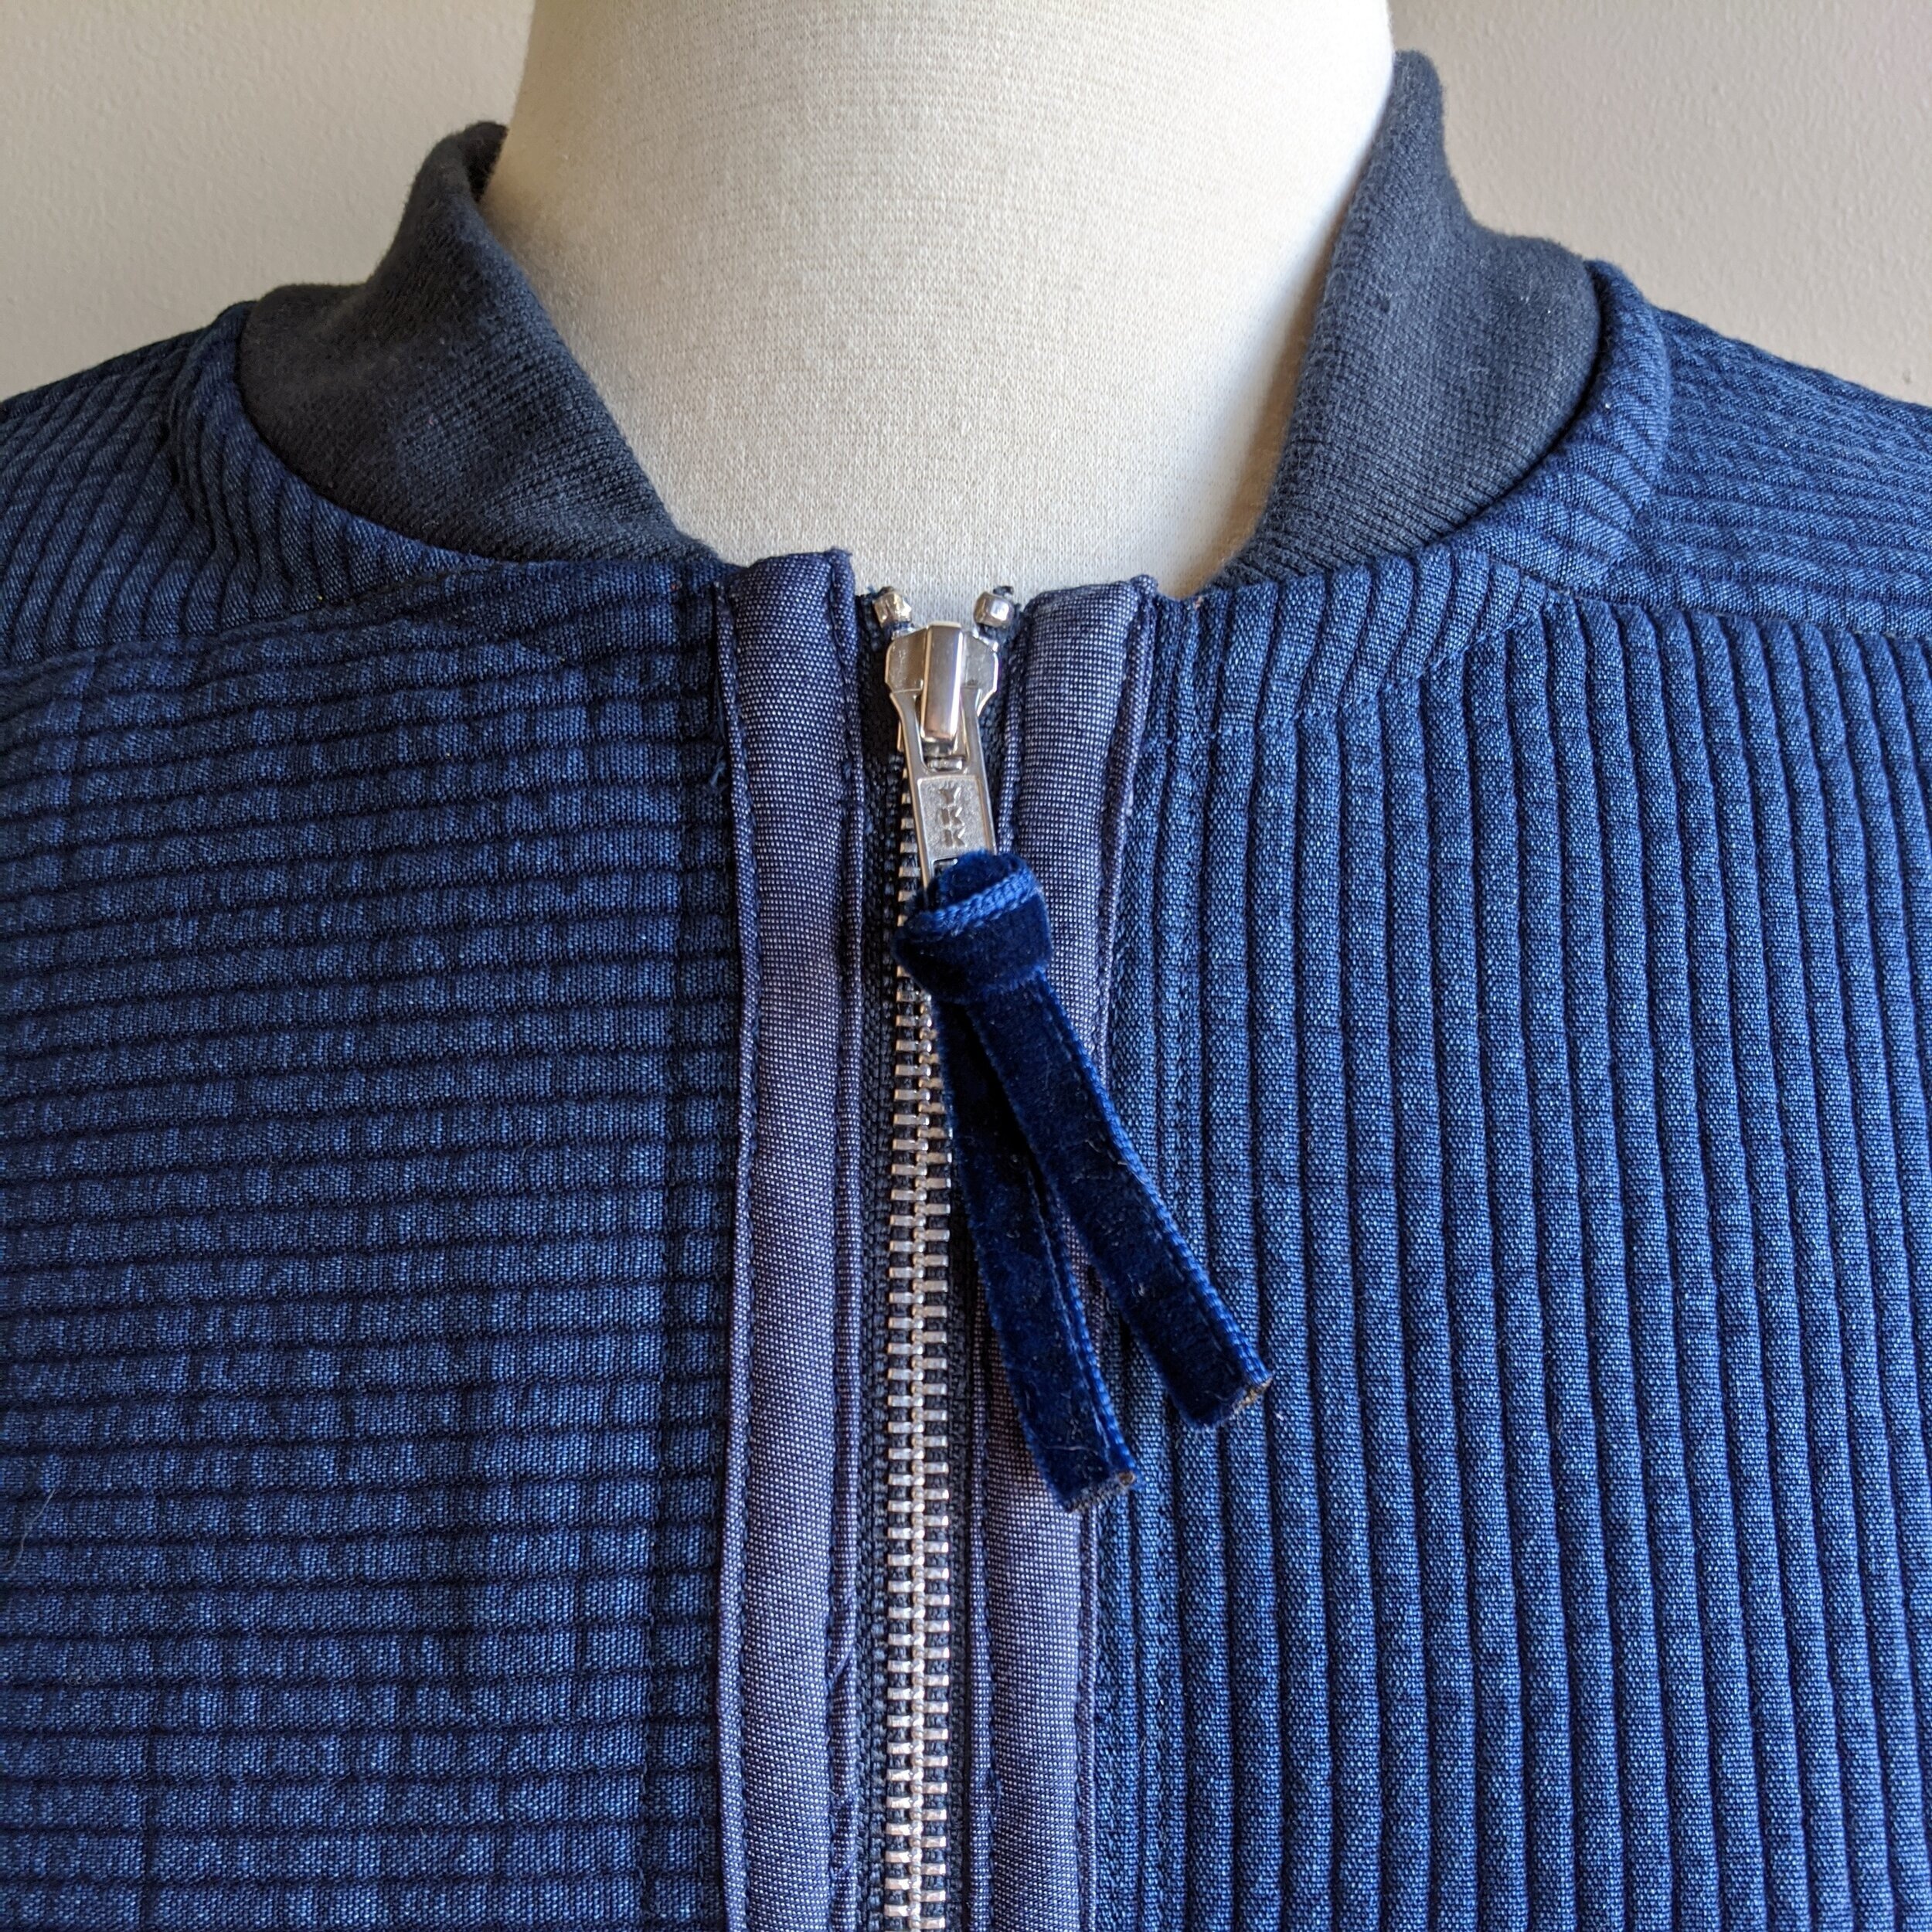
For the ribbed collar, I borrowed the collar from the Monarch Jacket by Allie Olsen. It was actually too long at first, so I shortened it.

And then finished the seam with twill tape for a clean look.

You can also see the Hong Kong finish on the shoulder seams above. I used what little scraps of this rayon/linen I have left from making my first Melilot. The side seams were bound together.
The trouble is the area under the arm at the junction of the armscye and side seams. It’s very bulky here. If I’m counting correctly there’s over 20 layers of fabric bound together right there! I’m hoping to go back in here and remove some bulk to mke wearing the jacket more comfortable.

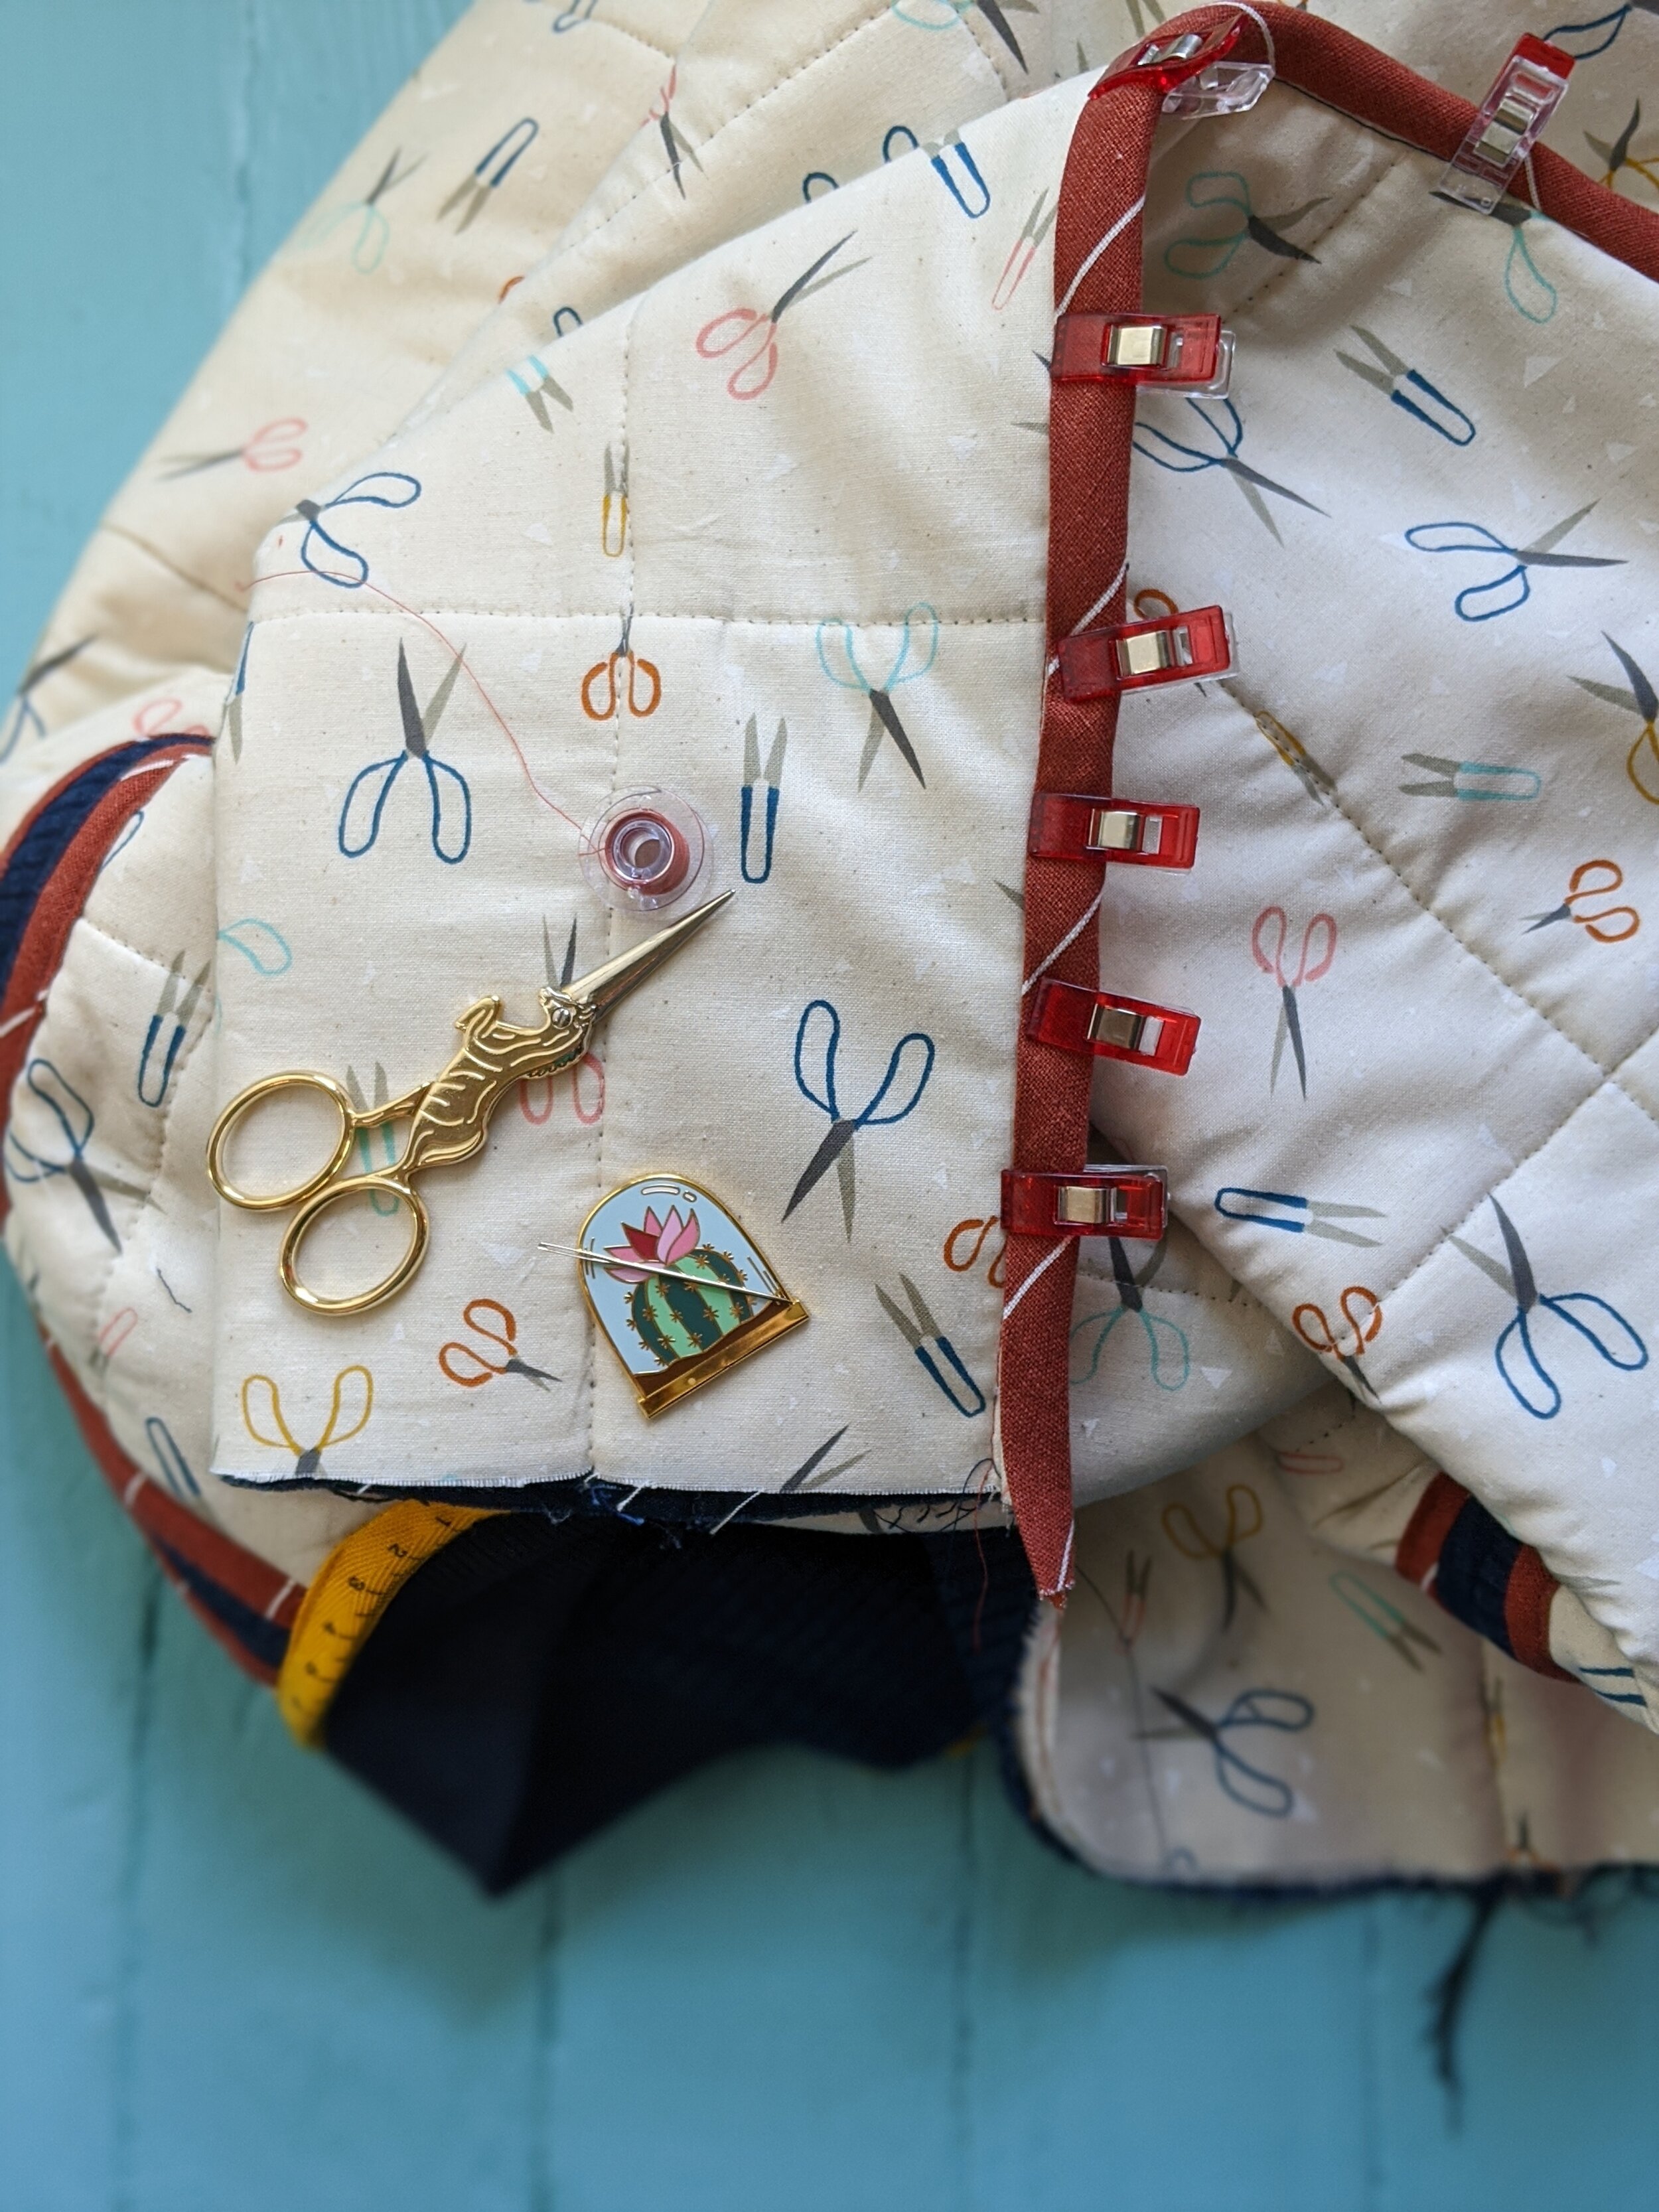
Since my quilt sandwich of pre-quilted outer, batting, and quilting cotton was rather bulky and I didn’t think welt pockets would go well. (Ideally, I would have used this tutorial.) Instead, I created patch pockets with a flap, interfacing the areas where snaps would be installed.


The front zipper was added after binding the edges since it would have been too bulky to install the zip to the right side and flip it.


Fun fact! I shortened the zipper too much and actually went back, added several teeth and reattached the stop, again. I’ve never done that before, and I broke a few extra teeth in the process, but so far it’s been fine.
Having shared my jacket on Insta before getting this post together, the most common question people asked was how I added the cuffs. I’m going to do my best to explain. There’s 2 pieces to the cuff I added. The ribbed part and a (woven) facing.
I used my favorite slightly elongated cuff pattern piece (it’s borrowed from the Issie pattern). After folding wrong sides together, the cuff is nearly 5 inches long. The facing was a simple rectangle which measured the width of the sleeve edge (plus seam allowances) by 4 inches. Fully installed, the ribbed cuff sticks out past the finished sleeve about an inch and a half.
The picture below shows the ribbed cuff with raw edge attached to the facing and slipped onto the sleeve, right sides facing. The facing and the sleeve are stitched together.

Once joined, the cuff/facing/sleeve assembly looks like this-

Then, the facing and cuff are pulled inside the sleeve (shown from the inside here). Making sure the raw edges of the cuff and facing are flipped inside, the facing was stitched to the sleeve.

Tada!


Other finishing touches include a faced hem and velvet ribbon added to the zipper pulls.


What do you think? How did I do?


I love the challenge of recreating rtw looks. Sometimes, though I make a few departures either for ease of assembly (lack of drafting knowledge) or to make use of on-hand materials and notions.


I love this jacket and am pretty pleased overall. If you have any questions, please do ask. I definitely left some details out as many of my thoughts have flown the coop, ya know, and I always love talking shop!